While weather insights are critical to many businesses, local weather data on a more personal and practical level can be important as well. Since I recently moved to an area with some pretty extreme weather, I find myself monitoring and measuring the local conditions much more than I used to. And with wind gusts that regularly exceed 50mph in the winter, this isn’t just an academic interest. Safety (both personal and property) is a significant concern.
In addition to the wind, I’m a skier, so I’m always interested in the amount of snow in the forecast. For some reason, this isn’t often displayed in most popular weather apps at a glance, so I was interested in building something simple to track my local weather as well as the forecast tailored to my interests.
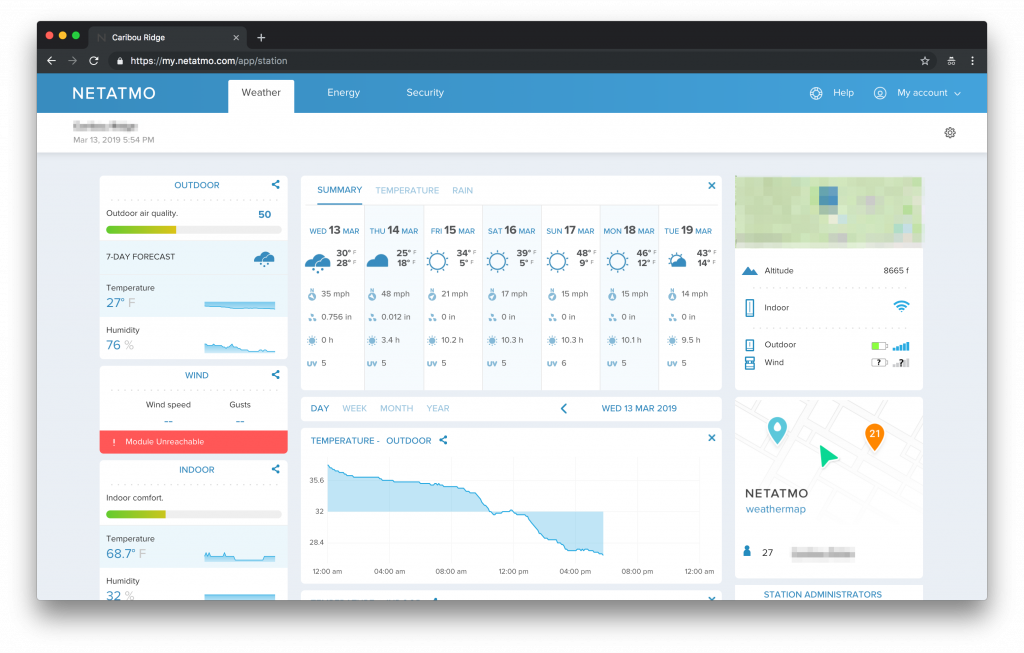
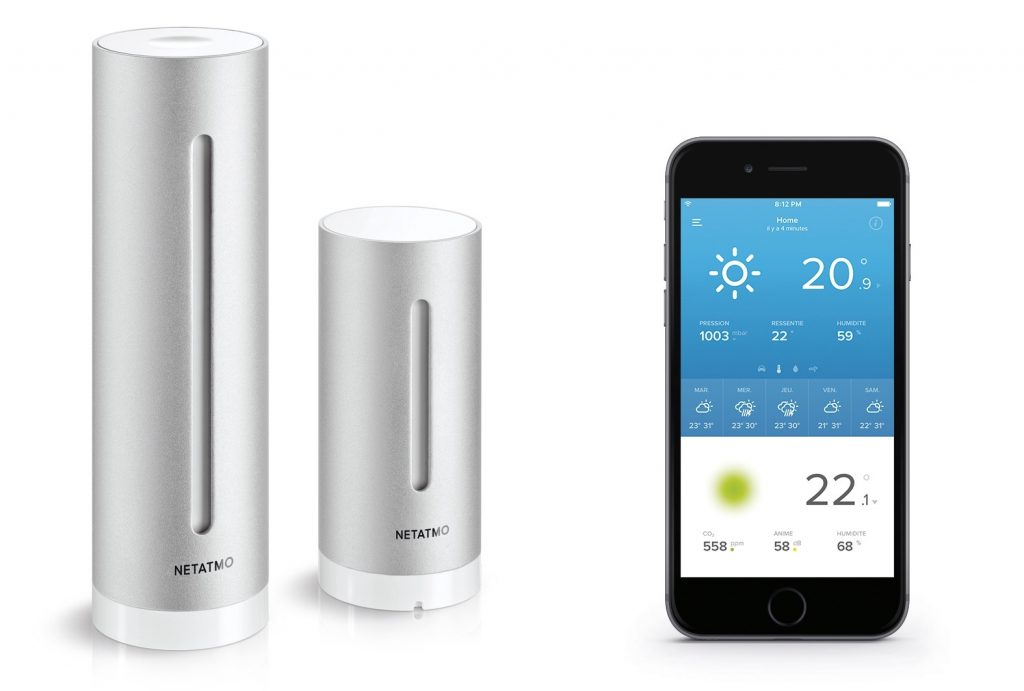
To monitor the weather, a recent addition to my home was the Netatmo Smart Home Weather Station with a wind gauge module. While Netatmo provides an app and web dashboard to view all your data, it’s a bit much at times, especially when there are only a couple measurements I’m interested in monitoring. You can see a demo app of their dashboard here. Additionally, they offer excellent integration with Alexa and IFTTT so that you can incorporate your weather monitoring into a home automation system.
As my neighbor regularly texts me to find out what the station is measuring for the wind gusts on particularly bad evenings (hey, get your own!), I thought it would be interesting to explore my recorded data using the Netatmo API as well as examining at how it corresponds to an accurate weather API with a forecast.
There are numerous popular weather data APIs available for free or low cost, but since IBM owns the Weather Company, I figured this would be a logical place to start and be an interesting way to experiment with their weather data.
IBM bought the Weather Company in 2016 and offers its weather data as an API available through the IBM Cloud. From IBM:
The Weather Company, an IBM Business, delivers personalized, actionable insights to consumers and businesses across the globe by combining the world’s most accurate weather data with industry-leading AI, Internet of Things (IoT) and analytics technologies.
Our solutions provide newscasters, pilots, energy traders, insurance agents, state employees, retail managers and more with insight into weather’s impact on their businesses, helping them make smarter decisions to improve safety, reduce costs and drive revenue.
The Weather Company API provides a ton of data including an hourly forecast, daily forecast, intraday forecast, current conditions, historical data, weather alerts, location services, and almanac services.

Here, I’ll only be using the 3-day forecast, but the API offers a daily forecast for each of the next 3, 5, 7, or 10 days starting from the current day, including forecasts for the daytime and nighttime segments.
As far as pricing, on a free plan you get 10 API calls per minute and then 10,000 calls total per account. So the free plan isn’t free forever, and once you hit the 10,000 call limit, you’ll have to start paying. But this is more than enough for testing, prototypes, and hobby projects.
For this article, I’ll be illustrating how to use Ruby to make access and parse the data from both APIs. In a future article, I’ll examine building a basic dashboard to monitor the data you’re interested in on the web (and in my case stop my neighbor from asking me!).
To follow along with the entire demo though, you’ll need an actual Netatmo device and account as they don’t offer any demo keys, products, or a sandbox.
The full tutorial walkthrough and repo can be found on Github here: https://github.com/tmarkiewicz/weather-ruby and I’ll highlight some of the key steps below.
Initial setup
As you can see from the tutorial repo, I’m using Ruby on a Mac. OS X comes installed with Ruby, but you can check your version using this command:
ruby -vIf you want to upgrade (or install multiple versions of Ruby), I recommend using the Ruby Version Manager (RVM).
The next step is to clone the repo from Github and then run the bundler:
$ git clone https://github.com/tmarkiewicz/weather-ruby
$ cd weather-ruby
Then you’ll need to install the required Ruby gems using the Bundler Ruby gem:
$ gem install bundler
$ bundle install
The tutorial code samples in Ruby can be run from the command line via this syntax:
$ ruby filename.rbThe next two sections outline how to use the tutorial for both Weather Company Data and then Netatmo.
Weather Company
To access the Weather Company Data API, you’ll need an account on the IBM Cloud. My tutorial outlines the process in detail, but the necessary steps are:
- sign up (or sign in) for the IBM Cloud
- add the Weather Company Data as a new service
- select the free plan
- select add credentials, then view the credentials’ JSON
- add these credentials to a .env file in the app directory
As a side note, there’s a great guide to using environment variables in Ruby here. In the tutorial, I also use this Ruby gem: https://github.com/bkeepers/dotenv
The next step is to make a test API call. I like to always start with curl or the Postman app to test any API credentials, the construction of the API endpoint, and of course the results:
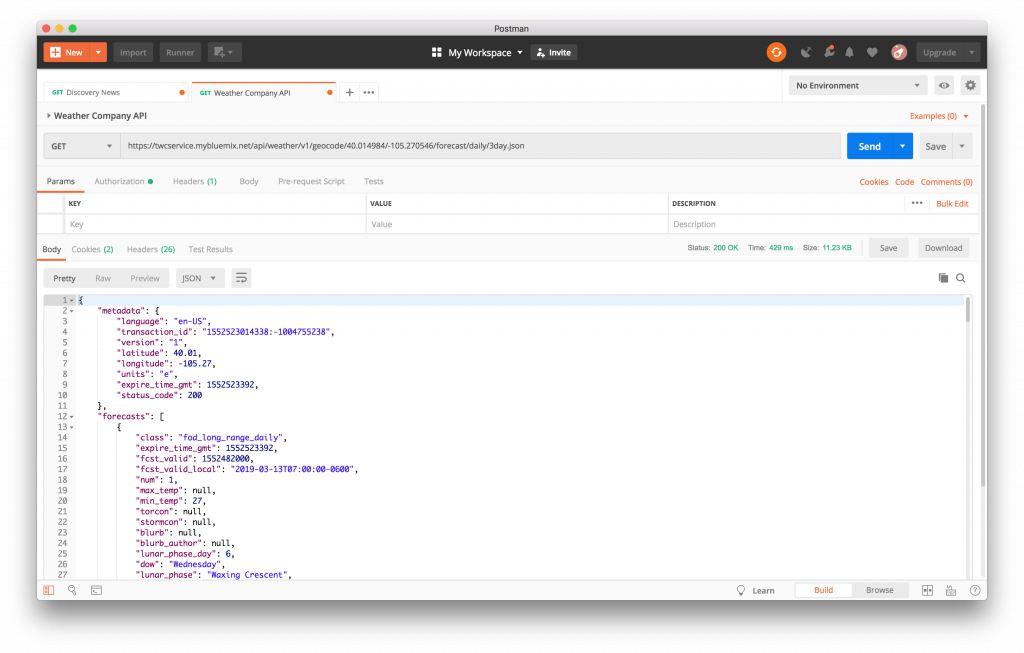 From the Weather Company Data API docs, we can build the URL to make a request to retrieve the 3-day forecast for a specific latitude and longitude like this:
https://twcservice.mybluemix.net/api/weather/v1/geocode/40.014984/-105.270546/forecast/daily/3day.json
In the URL above, replace the latitude/longitude with those of the location you’d like to retrieve weather data. An excellent site to find your latitude and longitude can be found at LatLong.net.
Now that we have all the requirements, we can run the main file from the command line:
$ ruby weather-company.rbAnd the output will look like this:
Forecast for Friday, February 22, 2019:
Periods of snow. Lows overnight in the upper teens.
1 to 3 inches of snow expected.
Snow this evening will give way to lingering snow showers late. Low 19F. Winds light and variable. Chance of snow 80%. Snow accumulating 1 to 3 inches.
Netatmo
As I mentioned above, this part of the tutorial is only available if you already have one or more Netatmo devices. If you’re looking at a full featured weather station with API access, I highly recommend their system as it’s pretty affordable for all the features provided.
That said, you can still follow along with the remainder of this demo and if/when you get a Netatmo device you’ll know where to go for some step-by-step instructions.
One caveat on the data from Netatmo devices: they unfortunately only send measurements to the servers every ten minutes. From the Netatmo API docs:
Do not try to pull data every minute. Netatmo Weather Station sends its measures to the server every ten minutes. Get the last measures from all the devices of one user with the Getstationsdata method.
So while I’d much rather have some data much more frequently (wind speed and gusts come to mind), we have to work with what the company gives us in this case. Inconvenient for building a weather app, but not a dealbreaker.
As with the Weather Company section, the full steps for setting up the Netatmo API are in the Github repo, but the basic steps are as follows:
- if you already haven’t, create a user account with Netatmo
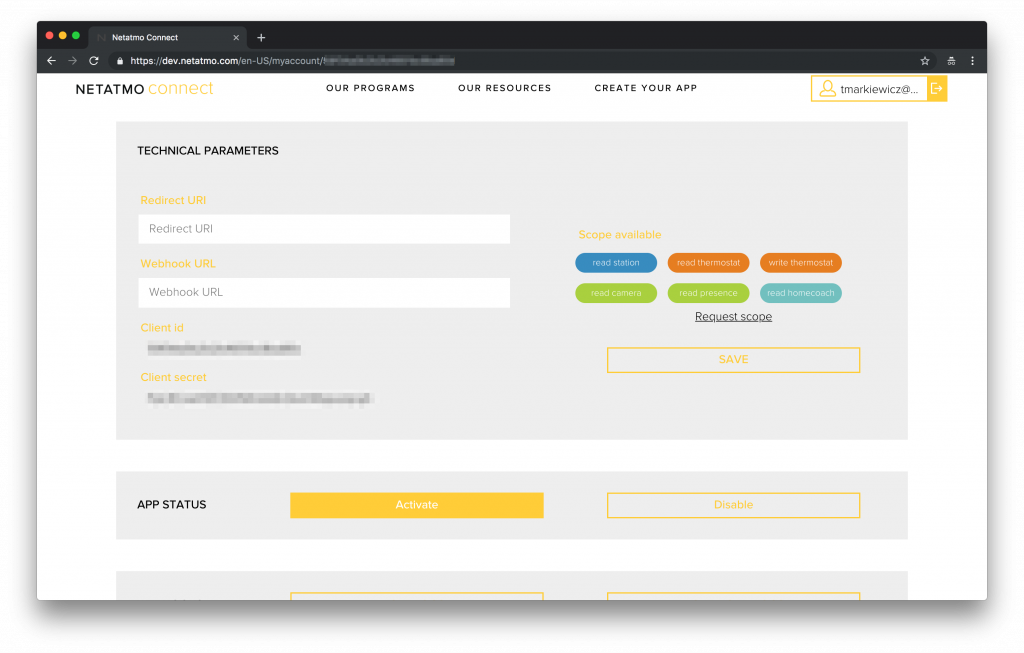
- sign up for a developer account
- create a new application
- copy the credentials for the new app
Once you’ve added the client id and client secret credentials to the .env file, you can then run the Netatmo file from the command line:
$ ruby netatmo.rb
The output will look like this:
Time: 2019-03-12 14:19:50 -0600
Temperature: 50 deg F
Humidity: 45%
And that’s it! A quick and easy to way get access to local weather data and forecasts.
Summary
While this is an introductory tutorial on to how to access weather data via the Weather Company and Netatmo, it’s not accessible outside running locally on your machine. In a future article, I’ll show how to quickly take this data and deploy it to an actual application. Once that’s done, my neighbor will be happy and possibly stop texting me for wind updates!